Here’s a guide to set up Postfix as an SMTP server that only allows local connections (from Docker containers and the local host). We’ll also set up OpenDKIM for DKIM signatures.
Setup
Set some variables
| |
Install necessary packages
| |
During the Postfix installation process, choose the following options:
- General type of mail configuration:
Internet Site - System mail name:
{MAIL_HOSTNAME you just set}
Change IPs allowed to connect to Postfix
Edit /etc/postfix/main.cf:
| |
Allow private IPs to connect, this will also allow Docker containers (which IPs are 172.x.x.x) to connect:
| |
Configure OpenDKIM
- Create the DKIM keys directory:
| |
- Generate the DKIM keys: (If you need multiple mail server on different machines using same domain, remember change ‘default’ to other text on other machine, or you will encounter problem setting DNS record)
| |
- Set permissions:
| |
- Edit
/etc/opendkim.conf:
| |
Add or modify the following lines:
| |
Integrate OpenDKIM with Postfix
Edit /etc/postfix/main.cf:
| |
Add or modify the following lines:
| |
Add SPF record to DNS
SPF is set up as a DNS TXT record. To set up SPF for your domain, you’d add a TXT record like:
| |
To allow some server:
| |
Screenshot of SPF record in GoDaddy DNS settings:

Restart services
| |
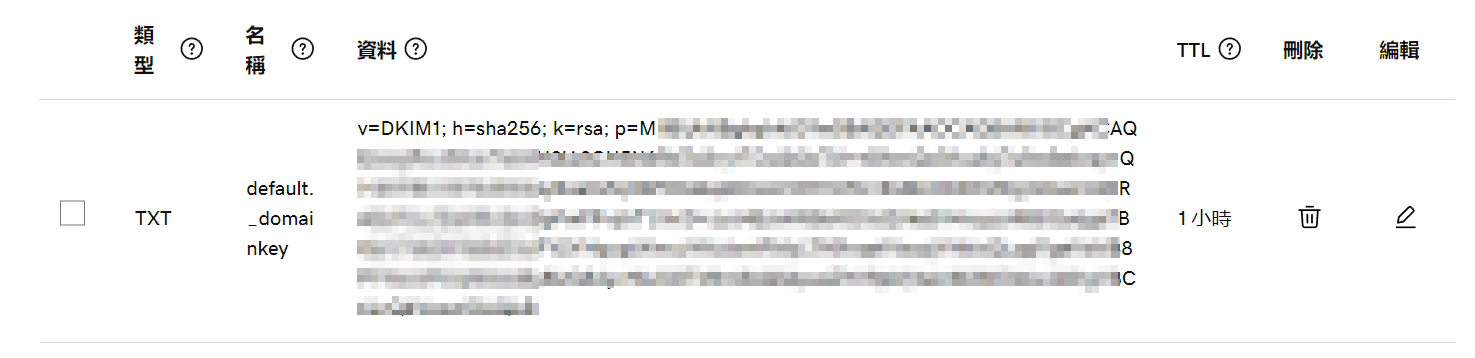
Publish your DKIM public key
The public key generated by OpenDKIM needs to be added to your domain’s DNS as a TXT record. Check the content of the file /etc/opendkim/keys/${MAIL_HOSTNAME}/${DKIM_SELECTOR}.txt and add it as a TXT record in your DNS settings.
[!NOTE] Some personal experience
the screenshot above shows the content of
/etc/opendkim/keys/${MAIL_HOSTNAME}/${DKIM_SELECTOR}.txt, but it’s not clear how to add it to DNS settings. solution: remove the double quote (") around the content, and paste it into GoDaddy DNS settings.
Screenshot of DKIM public key in GoDaddy DNS settings, notice no double quotes:
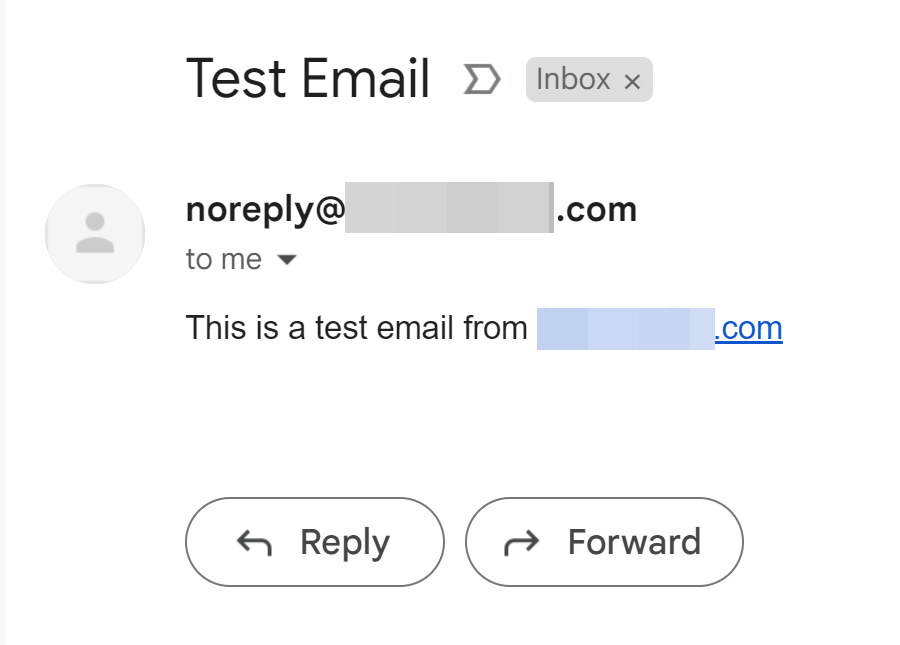
Test configuration
Remember to set proper “From: " address, or you will fail DKIM and SPF test by Gmail.
| |
How to set up multiple DKIM domains
I have a domain a.com, but I want to set up a second domain b.com with the same DKIM keys. Here’s how to do it:
Generate DKIM Keys for Both Domains
If you followed the steps in the previous answer, you have already generated keys for a.com. Now you need to generate keys for b.com.
a. Create the DKIM keys directory for b.com:
| |
b. Generate the DKIM keys for b.com:
| |
c. Set permissions:
| |
Update OpenDKIM Settings
a. Modify /etc/opendkim.conf:
| |
Change the Domain and KeyFile lines to:
| |
This configuration allows OpenDKIM to dynamically select the correct key based on the domain of the outgoing email.
KeyTable and SigningTable Configuration
Add KeyTable and SigningTable configurations to OpenDKIM:
a. Modify /etc/opendkim.conf and add:
| |
b. Create KeyTable:
| |
Add:
| |
c. Create SigningTable:
| |
Add:
| |
Publish DKIM for b.com
Like before, check the content of /etc/opendkim/keys/b.com/server01_01_.txt and add it as a TXT record in the DNS settings of b.com.
Restart Services
| |
Test Configuration
| |
By following these steps, your SMTP server should be able to handle emails from both domains, each with its own DKIM signature.