Introduction
I own a repository which builds Docker (container) image for amd64, arm64, arm/v7 architectures once a month.
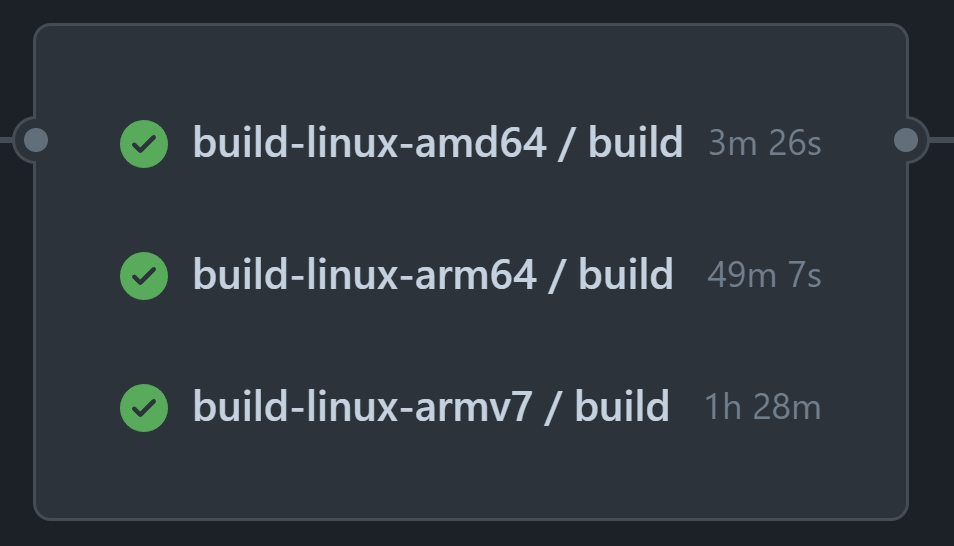
The bottleneck of whole workflow is building arm/v7 images, on GitHub-hosted Actions Runner (as of April 2024), it took around 90 minutes to build.
Since the image build of ARM variants ran on AMD64 machines with QEMU, I think it’s possible to speed up by using GitHub Actions Runners running in native ARM architecture environments.
However, GitHub doesn’t provide such runner to public (as of April 2024), we have to setup our own.
In this guide, I will walk through the process of setting up a single node Kubernetes cluster on a Raspberry Pi 4, and deploying an Actions Runner Controller to dynamically provision/deprovision GitHub Actions runners.
Spoiler Alert
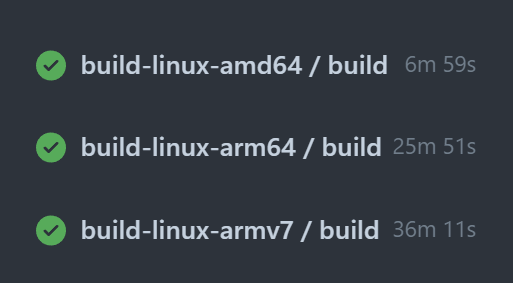
As you can see from the image below, running arm/v7 task on an arm64 Runner greatly improved the build time, from 90 minutes to 40 minutes.
What will be done in this guide
In this guide, we will:
- Install k0s on a Raspberry Pi 4 running Ubuntu 23.10
- Deploy an Actions Runner Controller in the cluster to manage our GitHub Actions runners
Hardware & OS
I’ll setup a Raspberry Pi 4 running Ubuntu 23.10 (arm64). Only one machine is required as I am setting the cluster with only one single node.
No HA setup, I am trading off the reliability for the cost.
Setup: Deploy k0s on the Pi 4
Before installing GitHub Actions Runner Controller (ARC), we need a kubernetes cluster. For quick and dirty setup on a resource constrained machine, I chose k0s and deployed in single mode configuration.
I followed some steps on the official k0s documentation.
System Configuration
Ensure the following packages are installed on your Raspberry Pi :
| |
Enable memory cgroup in the kernel by modifying the kernel command line:
| |
Load necessary kernel modules:
| |
Reboot the Raspberry Pi to apply the changes:
| |
Installing k0s
Download and install k0s on the Raspberry Pi:
| |
Create initial k0s configuration file:
| |
Modify the extensions.helm section in /etc/k0s/k0s.yaml configuration to include OpenEBS helm charts:
| |
Deploy k0s as a single node cluster (control plane & worker on the same machine):
| |
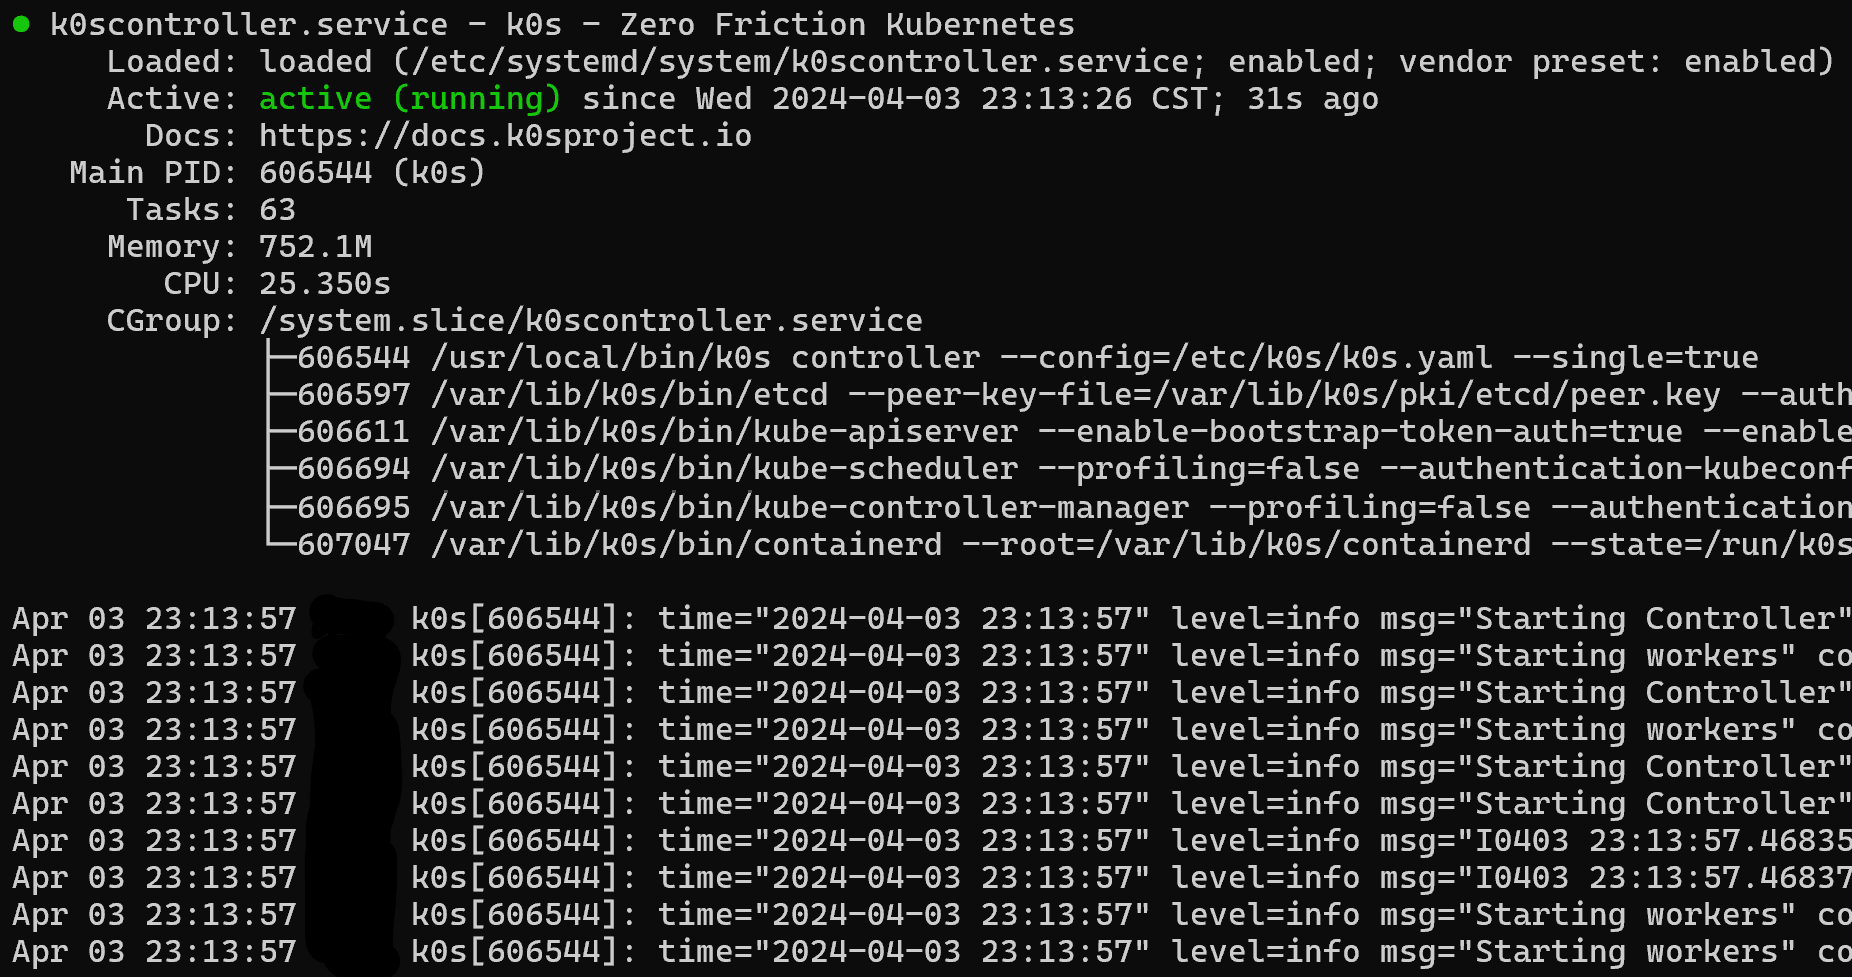
The service should be running now, as shown below:
Configuring kubectl
For easier access to kubectl:
| |
Let’s pause and test the configuration, type kubectl get pods -A in your terminal, you should see some pods running:

Helm Installation
Install Helm 3 to manage Kubernetes applications:
| |
Setup: Install GitHub Actions Runner Controller And Runner Scale Set
Deploying Actions Runner Controller
Set up the Actions Runner Controller using Helm:
| |
Create a GitHub App for Runner Scale Set
Runner Scale Set needs to interactive with your organization/repo when register/deregister runner, so we have either provide a Personal Access Token or create a GitHub App for it.
I go for GitHub Apps this time, it is more complicated but offers some degress of security comaring to provide a PAT.
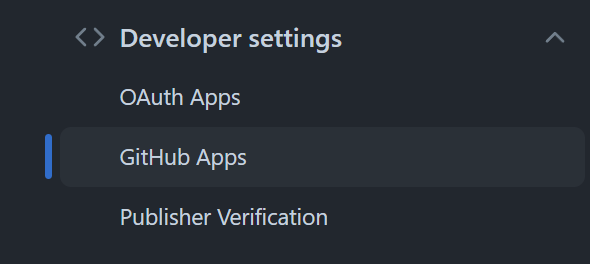
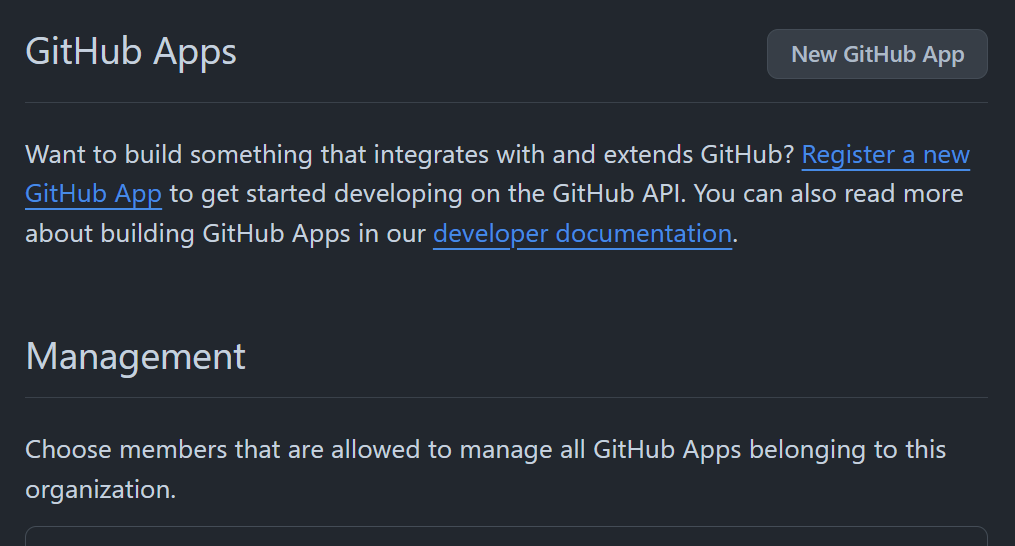
In your organization settings, navigate to “Developer Settings” > “GitHub Apps”.
Click “New GitHub App”
Select required permissions as per official documentation here.
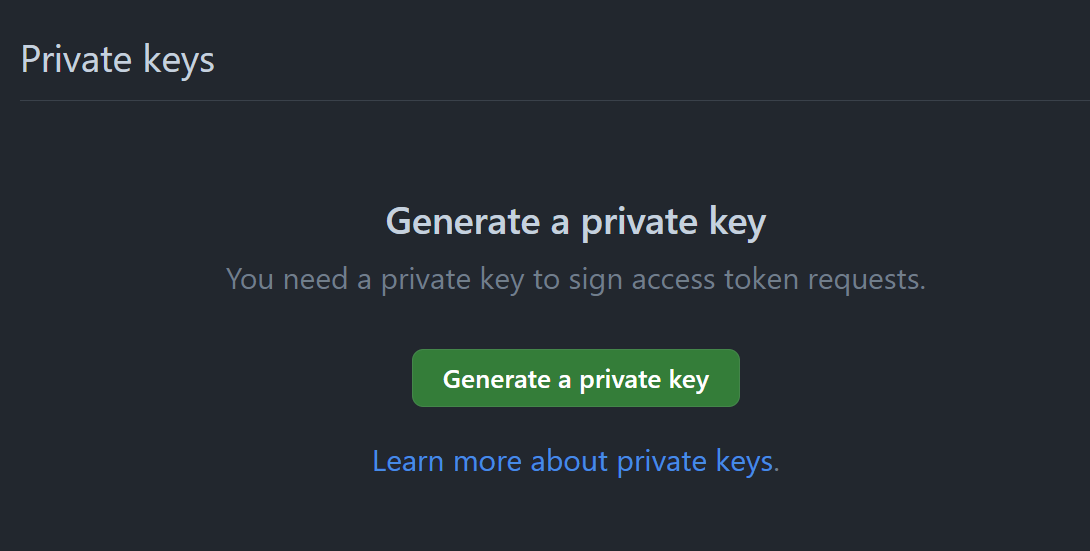
After created the App, click Generate a private key and save the .pem file.
In the menu at the top-left corner of the page, click Install app, and next to your organization, click Install to install the app on your organization.
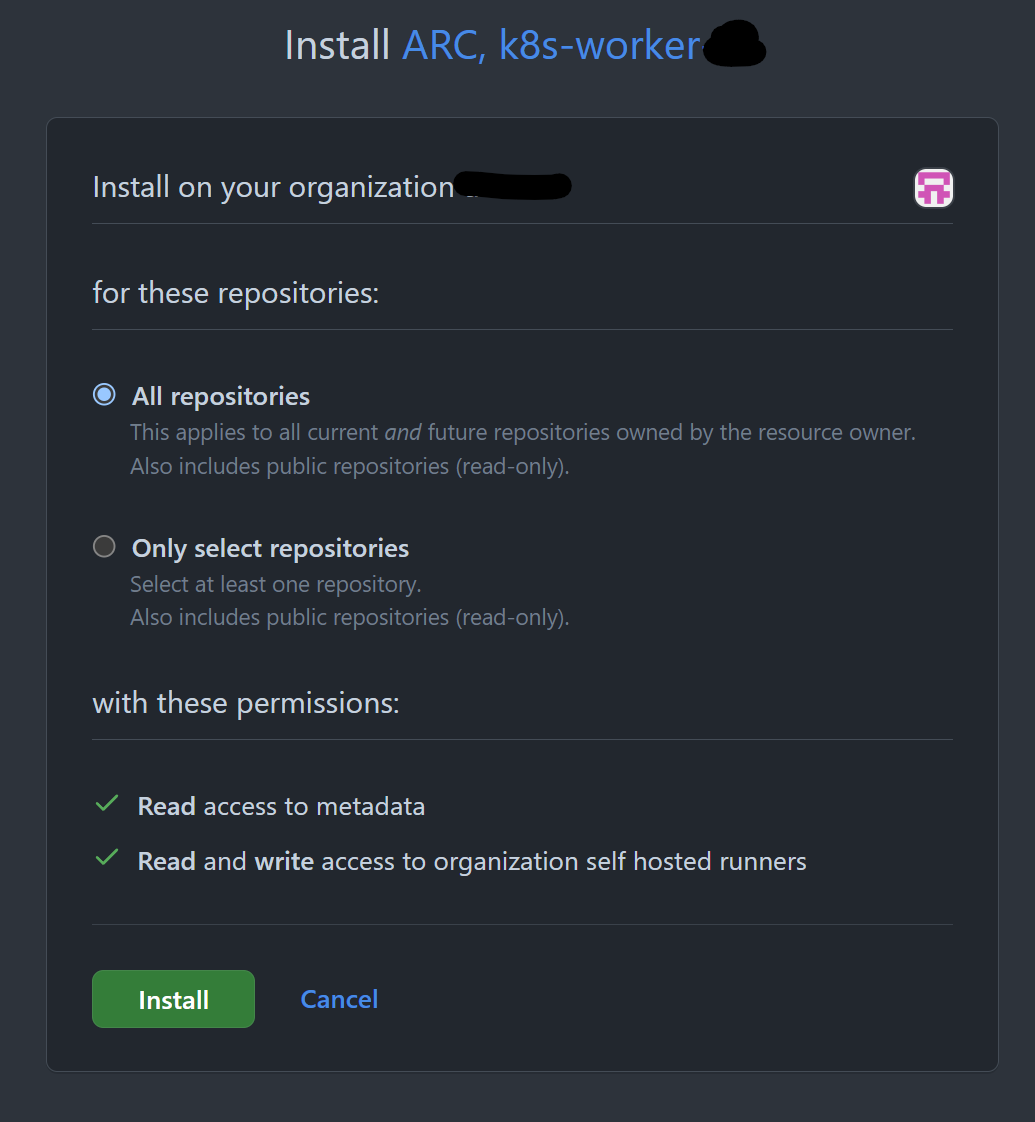
After confirming the installation permissions on your organization, note the app installation ID. You will use it later. You can find the app installation ID on the app installation page, which has the following URL format:
https://github.com/organizations/ORGANIZATION/settings/installations/INSTALLATION_ID
Remember App ID, Installation ID, and private key, you’ll need them later.
Configure Runner Scale Set
Create a configuration file called runner-scale-set-values.yaml for runner scale set and define your preferences:
githubConfigUrl: the URL of your repository/organization/enterprise where you are going to register your runners to.runnerScaleSetName: the label (ortagif you are coming from GitLab CI/CD) you will write in your workflow to assign job to these runners.maxRunners,minRunners: you guessed it.containerMode: you could usekubernetestype ofdindtype. Please tell me their difference if you know it, thanks. Uncomment the text below for your preferred mode. I chose to able to switch between 2 modes quickly during development so I ended up installed 2 Runner scale sets, one for kubernetes and one for DinD.
| |
Add Personal Access Token to k8s namespace (mutual exclusive to next part)
(This part is only needed if you choose not to create a GitHub App but rather provide a PAT to runner scale set)
Securely add your Personal Access Token (PAT) for GitHub:
For how to generate PAT, please read the documentation.
| |
Add GitHub App Credential to k8s namespace (mutual exclusive to previous part)
(This part is only needed if you choose not to provide a PAT but rather create a GitHub App for runner scale set)
| |
Install the runner set using the prepared Helm values
| |
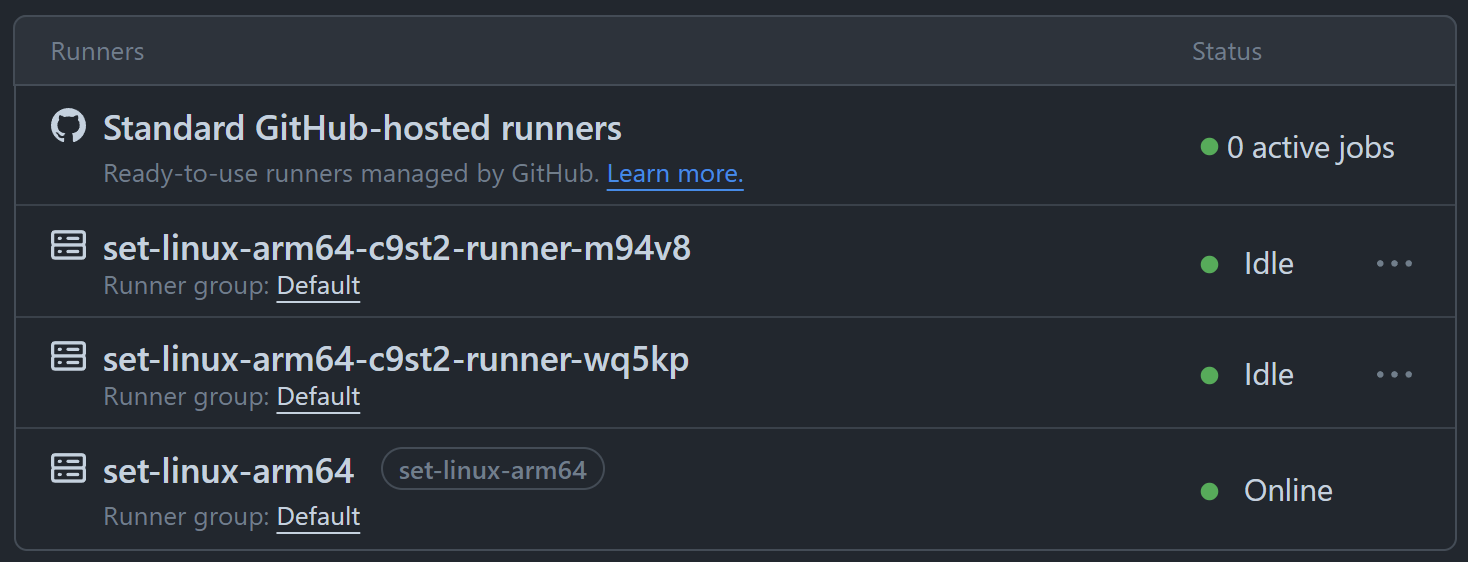
Verifying the Installation
Check the status of your Kubernetes pods and ensure everything is running smoothly:
| |
And we are done!
Proxy setting
If you need proxy setup, read following articles to do it properly:
- k0s: Environment variables
- ARC: values.yaml (jump to
proxypart of the file)
Conclusion
In this guide, we have set up a single node Kubernetes cluster on a Raspberry Pi 4, and deployed an Actions Runner Controller to dynamically provision/deprovision GitHub Actions runners, topology shown below:
| |